Friday, June 28, 2013

Working on a July Launch Date for the Optimist

My brothers and I have slowed our building of the Optimist down to a crawl. However, my brother Darren has taken the lead and wants the first boat to launch on July 4th.

He has purchased sail, tiller and extension, blades (rudder, centerboard), gudgeons from APS - Annapolis Performance Sailing.

To protect the chine he has laid down a 2 inch strip of fiberglass cloth in simple-clear polyester resin. It should provide a bit of resistance to any "hard blows" on rocks that make up the shore of our part of Lake Ontario.

Polyester resin is quick to harden and very easy to sand. It costs about half the price of shipping epoxy to us. It's just a short drive to the auto parts to pick up a quart.


Virginia Beach Optimist Project

Update from Al's project at the end of April, 2013:

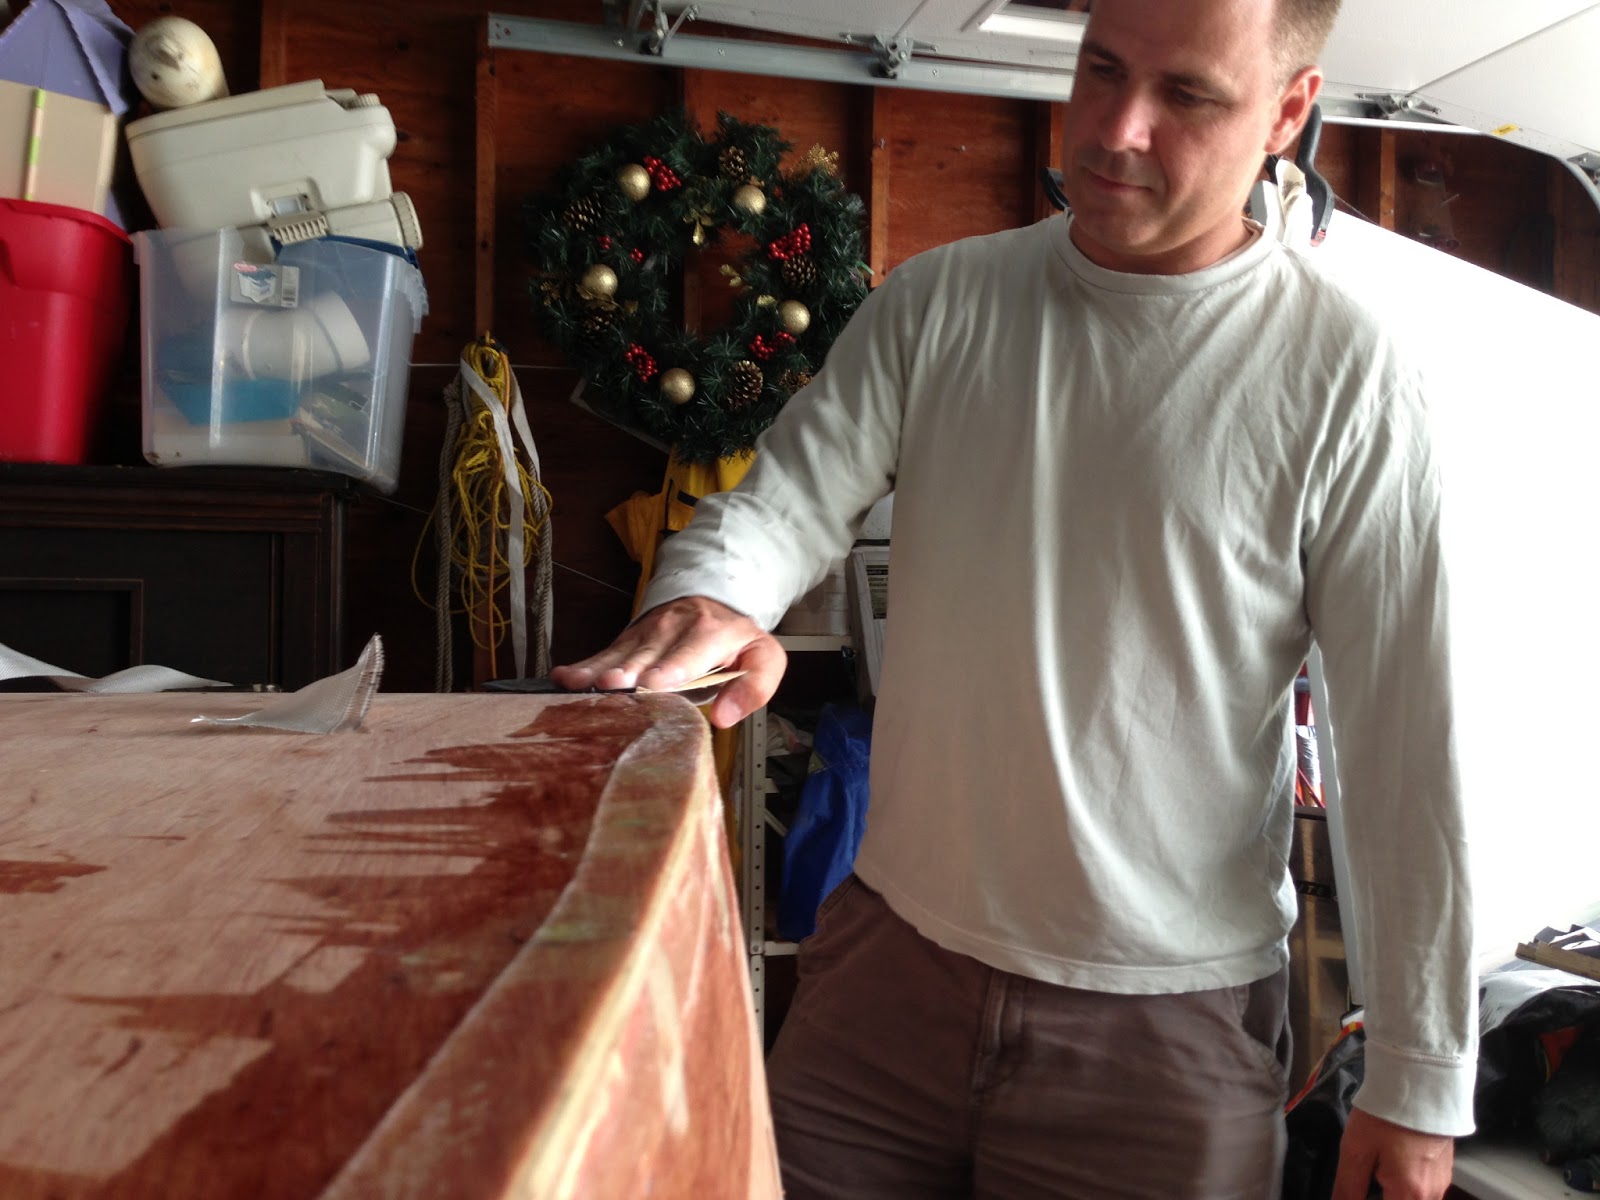
Well, I really have been working on this baby but being retired takes up a lot of time.  For the last month I have been trying to get her finally ready for the water.  What this in essence means is that i have sanded, and sanded and sanded some more.  I have used every type of sanding device that i know of including wrapping a piece of sand paper around a 3/8" drill bit and sanding along some of the rough fillets.  What I have definitely learned is that neatness is worth a lot and I was not as neat with the epoxy as I could and should have been.  This left a lot of high spots and some really sharp edges that could do a job on little knees.  They are all gone now and another thin coat of epoxy has been rolled over all the unpainted areas, mainly the inside of the boat but also the spruce part of the gunwales.  I plan on attaching strips of mahogany as the outer rub rail and just vanrishing these.  No epoxy.  They are almost ready to attach.

I have made my mast and gooseneck from PVC..  The mast 1 1/2" pipe cut to length and then reinforced with treated wood and the goose neck is from a 1 1/2 x 1 1/4" tee.  My boom was supposed to be a 1 1/4" hardwood dowel but HD and Lowes both have ceased carrying that size (where i live) so the closest I could come was a poplar dowel 1 3/8" in diameter that I sanded down and have a nice fit into the 1 1/4" side of the tee.

I also found that my back couldn't take much more bending over to work on the inside so I made some 24' high saw horses that bring the boat to a perfect (for me) height to save my back.  Cute little things.

Today I attached to rudder.  Put the pintles & gudgeons on and took a lot of time to make sure I got it right. I think I did.  The rudder and tiller look really nice.  Hope they work as well as they look.

Now I am at the stage of what next? It appears that a dinghy dolly will be that project.  I haven't found actual plans for one but have seen photos and  figure that I can make something close to what I've seen that will fit the bill.

There is one more go round with epoxy filling some dings and gouges and no doubt some sanding after that.  Then it will be a clean up and Helmsman for the inside.  Really can't wait to do that finishing.


Virginia Beach Optimist Project

This is where Al was on his project back on March 1st of 2103:

It's been a while since I've done any major work on my craft.  Been away enjoying the sunshine.  I have done some stuff like cut off the "legs".  Another tool buying opportunity, this time a saddle square.  neat little gadget but way over priced.  Also got to use the new flush cut saw that I love.  Have found Harbor Freight to be a treasure trove for all sorts of tools at great prices and most have held up well.  Clamps are one thing that they have at great prices if you watch the sales.  Never have enough clamps!

I have also fitted out bow and stern with some embellishments that i feel are more than decorative.  Feel they will strengthen both ends.  Presently they are still clamped since the temp here is still fortyish and I'm in no hurry to sand or plane partially hardened epoxy.  Speaking of planing a couple of comments.  I have two really small planes maybe 2" long and 1' wide.  Really useful little items that can quickly place down areas where a normal box plane won't fit and do a great job.  Had them for years and haven't seen any in stores lately.  Also discovered with the help of my expert woodworker son "Scary Sharp".  This is a fantastically simple, cheap ,fast and effective way to sharpen tools such as chisels and plane irons. Uses varying grits of sandpaper glued to a thick sheet of glass.  Lots on the web about it.  Also found a Robert Larson honing guide on Amazon for less than $11 that does the trick and is much cheap than most.  A solid well built device.

I've also been playing with the rub rails.  Got some nice mahogany fairly cheaply and had it ripped 1 1/2' wide.  Have had it clamped to the sides where it will be attached for weeks trying to give it some bend.  Too lazy to make a steam box.  Have used a household clothing steamer held up to the clamped on wood.  When I have loosened clamps the wood has assumed a gentle curve that is far better than nothing.  Will keep clamped and steam  a few more times.


Sunday, January 6, 2013

Virginia Beach Project - Update

After letting the last coat of epoxy on the hull dry for several days I did minimal touch up sanding of high spots. As I look back I should have done a lot more from an appearance standpoint but it certainly has a passable appearance. I again wiped the hull down well after having vacuumed the garage so that I was in as dust free as possible. I then used masking tape around the gunwale line feeling that the glue would probably adhere better to the epoxy directly than to a coat of paint. I used Rustoleum Marine primer, one coat applying it with a foam roller. It was difficult paint to stir and get well mixed but it went on very well and the roller gave it a good smooth even appearance. I again let it dry well for a couple of days and then used Rusteolem Marine Topsides paint for a finish coat. It too was rolled on and was easy to use. It will take a second coat to achieve a really nice look. It should be noted that this is Topsides paint not designed as “bottom” paint so if you plan on leaving a boat in the water for any long periods of time this is not the paint to use.


One final comment on the paint. Compared to the usual marine paints Rustoleum is much cheaper but also offers a more limited choice of colors and it would appear that it is not designed to be used as a mixing base to make your own color.


I let her get good and dry and then flipped her over onto a nice soft cloth pad to protect the paint. The frames were still attached and were the way I supported the boat while painting. Now for the first time I got a good look at the inside of the boat. WOW! I had a lot of finishing to do. This included filling screw holes but mainly if was filling in and making filets were the chines, keelson etc. did not seal as tightly as I would have liked. From a functional standpoint the boat was sealed. From and esthetic one I had a lot of work ahead of me. Since the epoxy is pricey I mixed up just enough so I knew that there would be no waste. This was your peanut butter consistency and applied with a tongue depressor went on easily and gave a nice effect. I would give a piece of advice when doing this. Wipe off the excess with a vinegar soaked cloth as soon as you are finished with an area. It is a heck of a lot easier than sanding this rock hard stuff once it dries.